Recently I acquired a new GL iNet MT6000 (Flint 2) router and realized the configuration wasn’t as straight forward as I thought. This post summarizes what I did to make it work.
Before anything else I started by flashing the MT6000 with a clean OpenWrt firmware – version 24.10.1. [If you have another router, you shouldn’t care about this step. As long as you have OpenWrt, you’re good.]
There are multiple setups possible that involve keeping, or not keeping, the Bbox. I decided not to keep it, which means the router connects directly to the ONT (Optical Network Terminal aka the small box next to your Bbox that converts optical signals to something your router understands). If you want to keep the original Bbox connected to your new router, this guide is probably not for you.
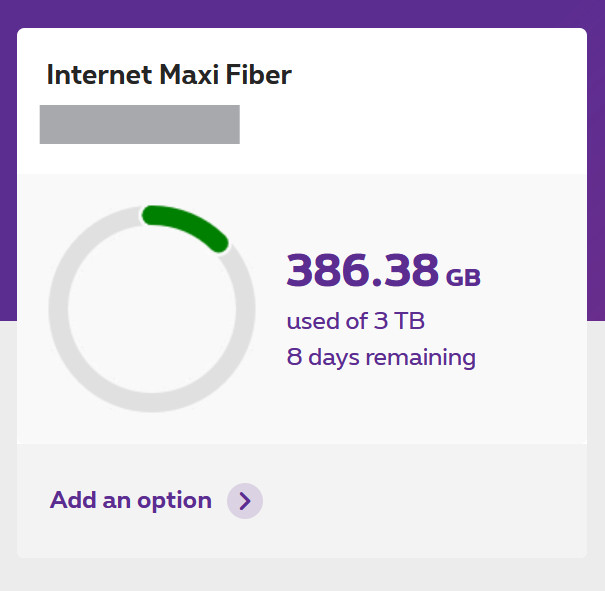
I suggest doing the following steps while you’re still connected to your Bbox. You can also do it on your phone while connected to 4g if you prefer. Login to your Proximus account, go to Products and click on your subscription.
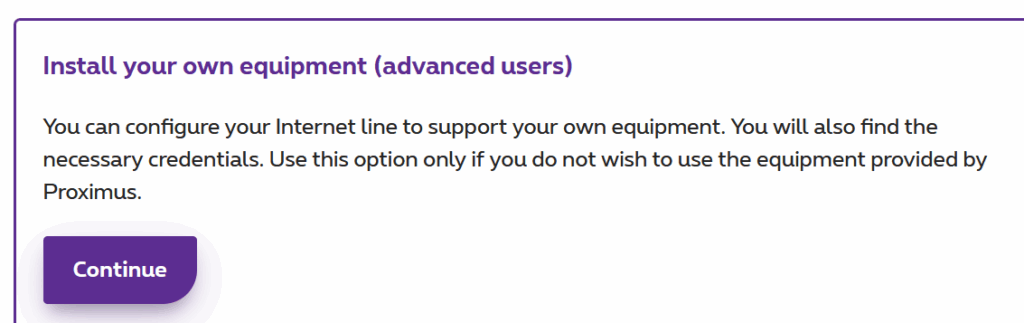
Go to the bottom of your screen and click on Install your own equipment (advanced users) and press Continue.
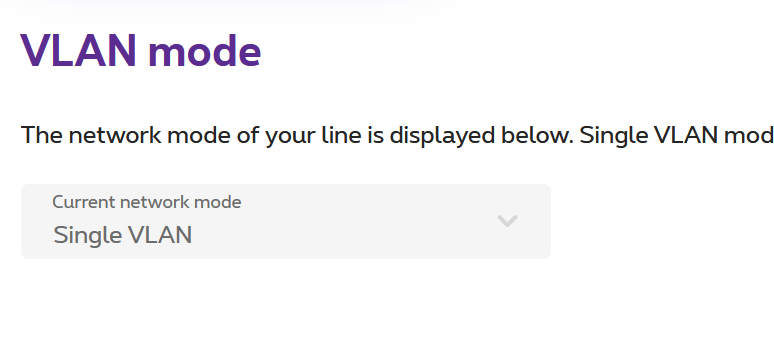
Change the Network Mode dropdown list to Single VLAN. It should take a few seconds to take effect.
Now, disconnect the Bbox and connect the ONT directly to the WAN port of your new router with an ethernet cable. This is an important step – pick a port with a label stating WAN next to it.
With another ethernet cable, connect your computer to your router. On your machine, open your browser and go to the admin menu – usually http://192.168.1.1 works. This router in particular used http://192.168.8.1 before I reflashed it. So, if the first doesn’t work you’ll have to google for whatever ip your router uses to access the admin menu.
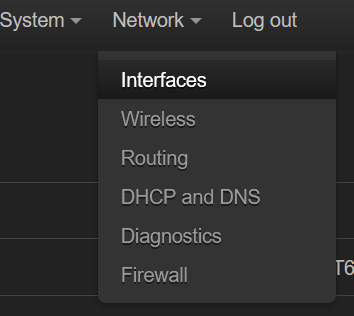
Once in the admin menu, go to Network > Interfaces.
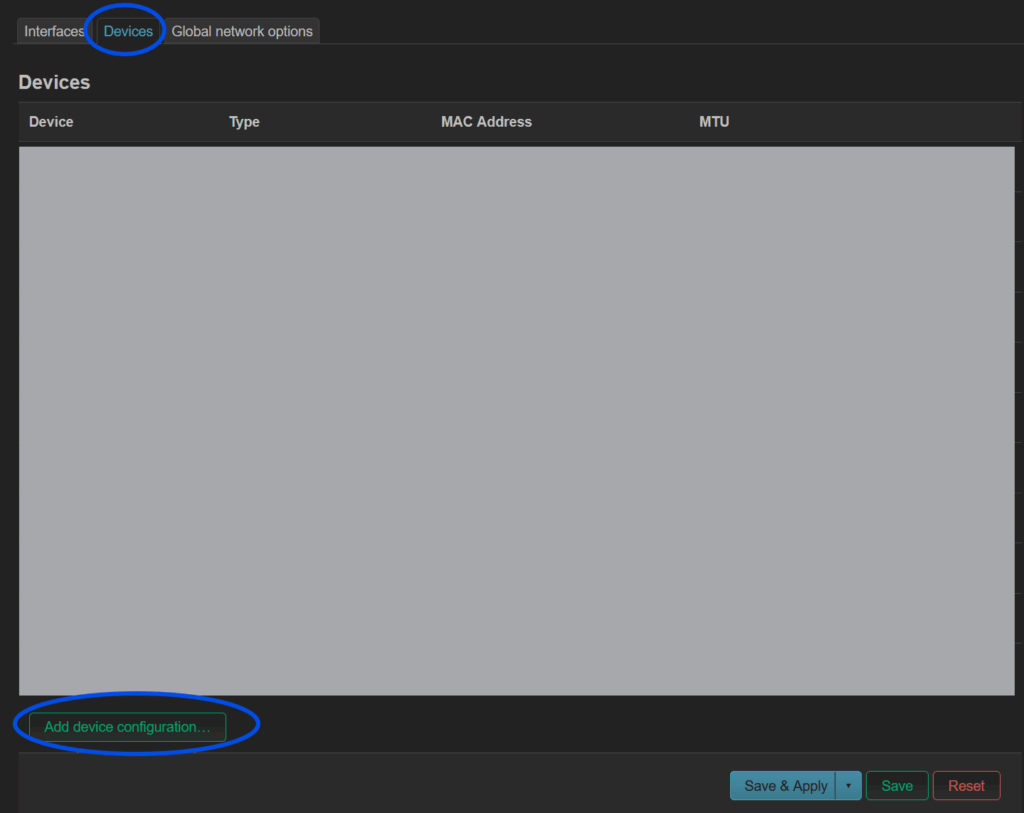
Go to the tab Devices and click on Add device configuration.
Set the Device type to VLAN (802.1q) and set the Base device to the available wan device.
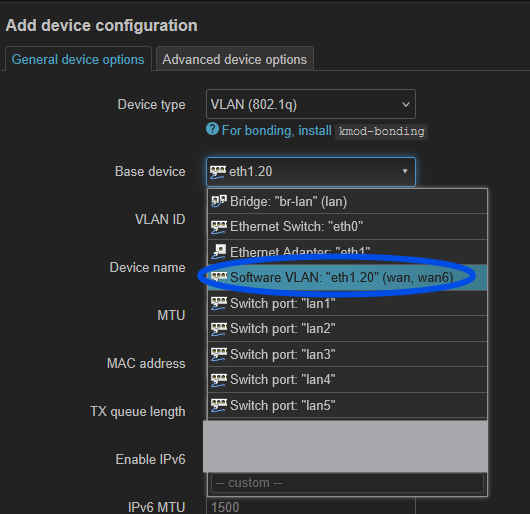
Set the VLAN ID to 20 (yes, it must be 20 – cf references).
The field Device name should be automatically generated once you set the VLAN ID.
All the rest stays the same.
Click Save.
When you’re finished, click on Save & Apply under the Devices table.

You should now have a new entry in the devices table called eth1.20 (or a similar name) of type VLAN (802.1q).

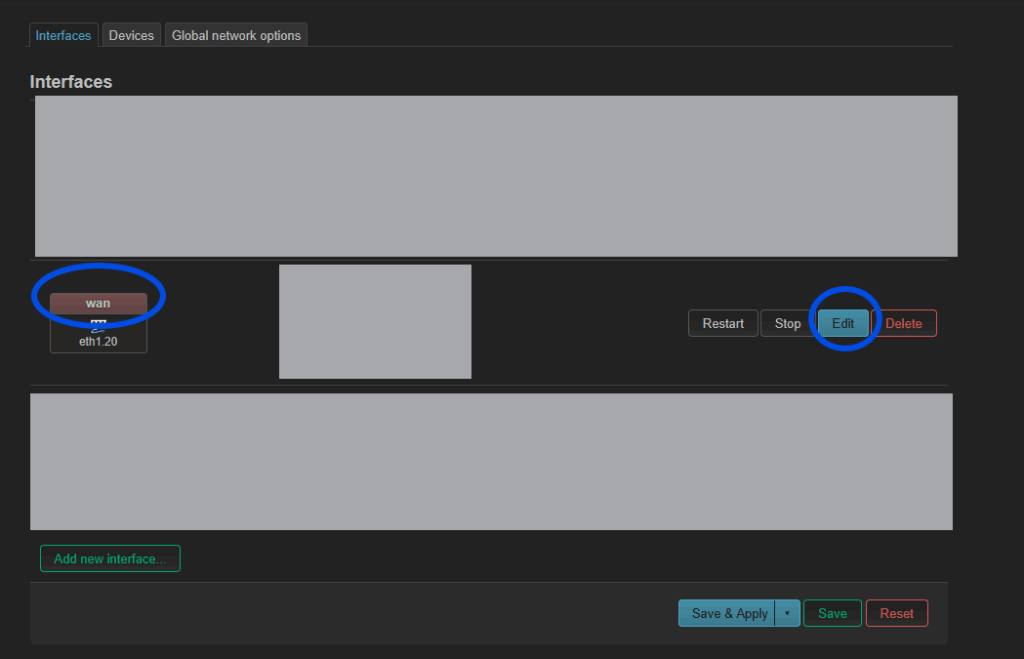
Now, go to the Interfaces tab and click on edit on an existent wan interface.
On the Device field, choose the one you just created (eth1.20 in my case). Click Save.
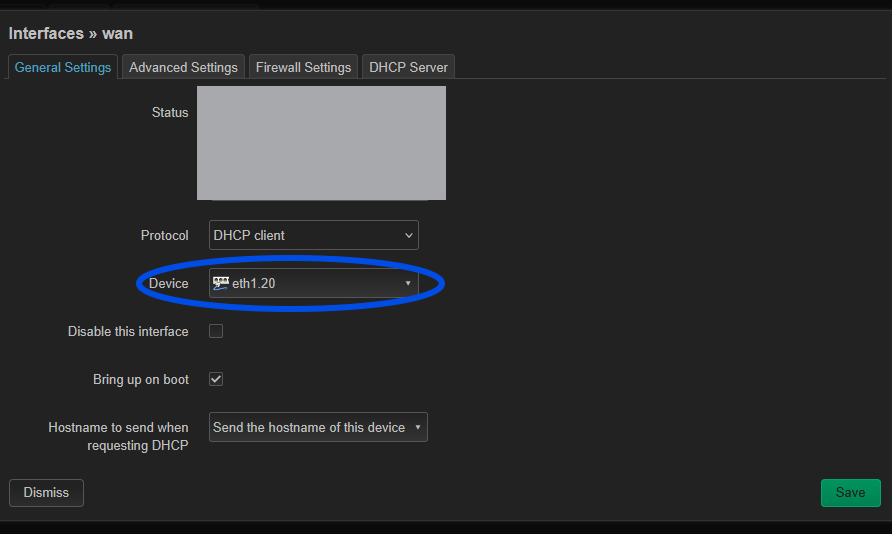
Click on Save & Apply beneath the table. Do the same for wan6.
And that’s it. If everything went according to plan, you should now have a working internet connection on the machine you’re connected to.
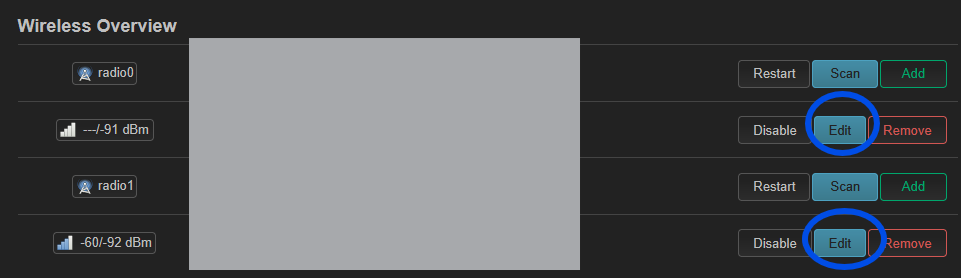
If you have internet over ethernet but not over wifi, you might need to attach a network to your wifi interface. To achieve this, go to the menu Network > Wireless and edit one of your wifi interfaces.
Scroll down and look for the Network field. Choose the network called lan from the list.
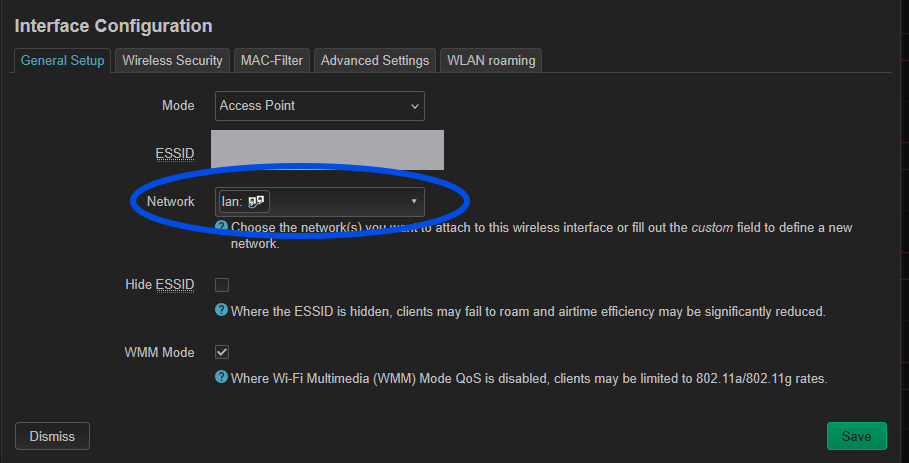
Click save.
Don’t forget to click on Save & Apply.
I hope it worked for you.
References:
1 – https://www.proximus.be/support/en/id_sfaqr_own_device/personal/support/internet/internet-at-home/advanced-settings/use-your-own-equipment.html
2 – https://nl.forum.proximus.be/internet-10/pppoe-of-ipoe-werkt-niet-op-fibermodem-58941
3 – https://www.reddit.com/r/openwrt/comments/1ebu234/vlan_setup_for_wifi/